3.21.2011

Fresh Eggs for Sale!

The time has come: our eggs are officially for sale!

Last night my friends Halley and Mizey stopped by to say hello. They hadn't seen the chickens since they were just little chicks, so I proudly showed off what our girls have been up to (laying eggs, namely). Seeing that we had close to 2-dozen eggs, Mizey asked if we needed to get any off our hands. And thus our first egg sale transpired.

Halley & Mizey with fresh eggs!
Want to buy eggs? We're asking $4 per dozen or $2 per half dozen, which is what the going rate is for fresh eggs in Durham. The girls are laying around 20 eggs per week, and we do like to use them ourselves, so we won't be able to sell more than 1-1.5 dozen per week.

Note: We cannot ship eggs, so you'll need to be able to come to Durham if you want them.

3.20.2011

A New Meaning for "Home-Cooked Meal"

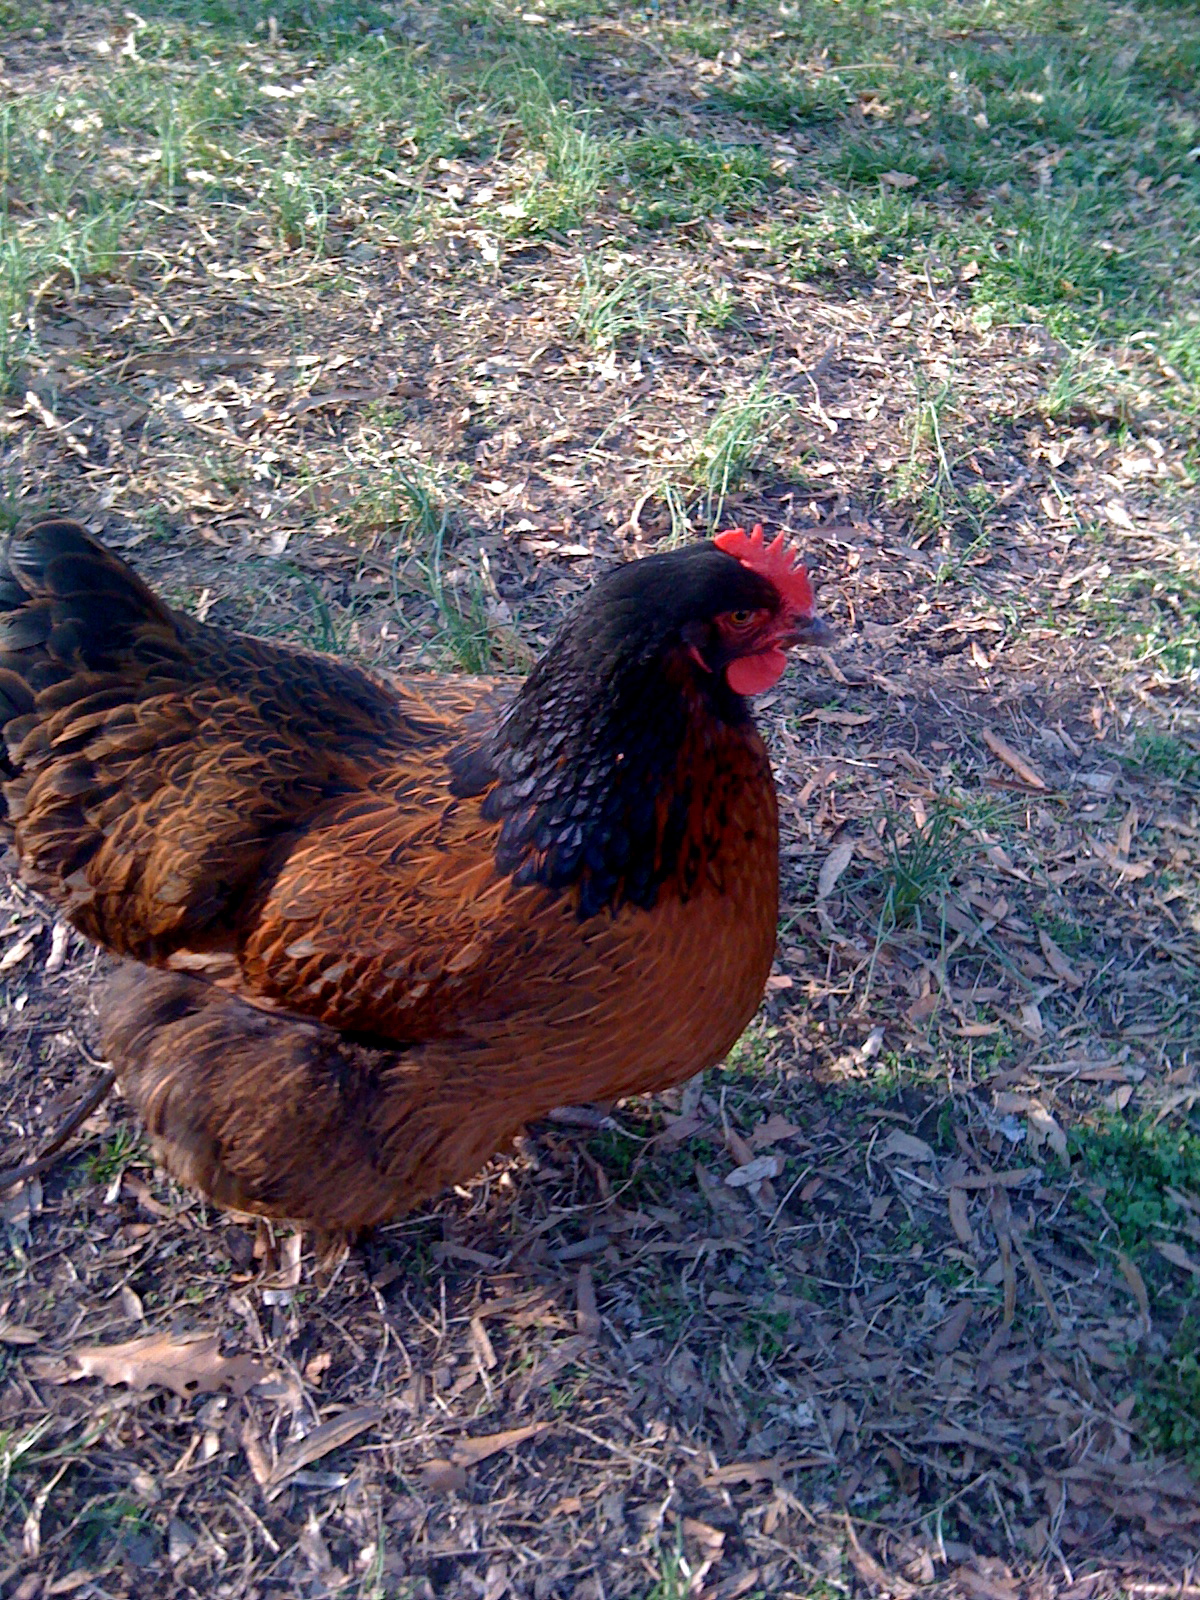
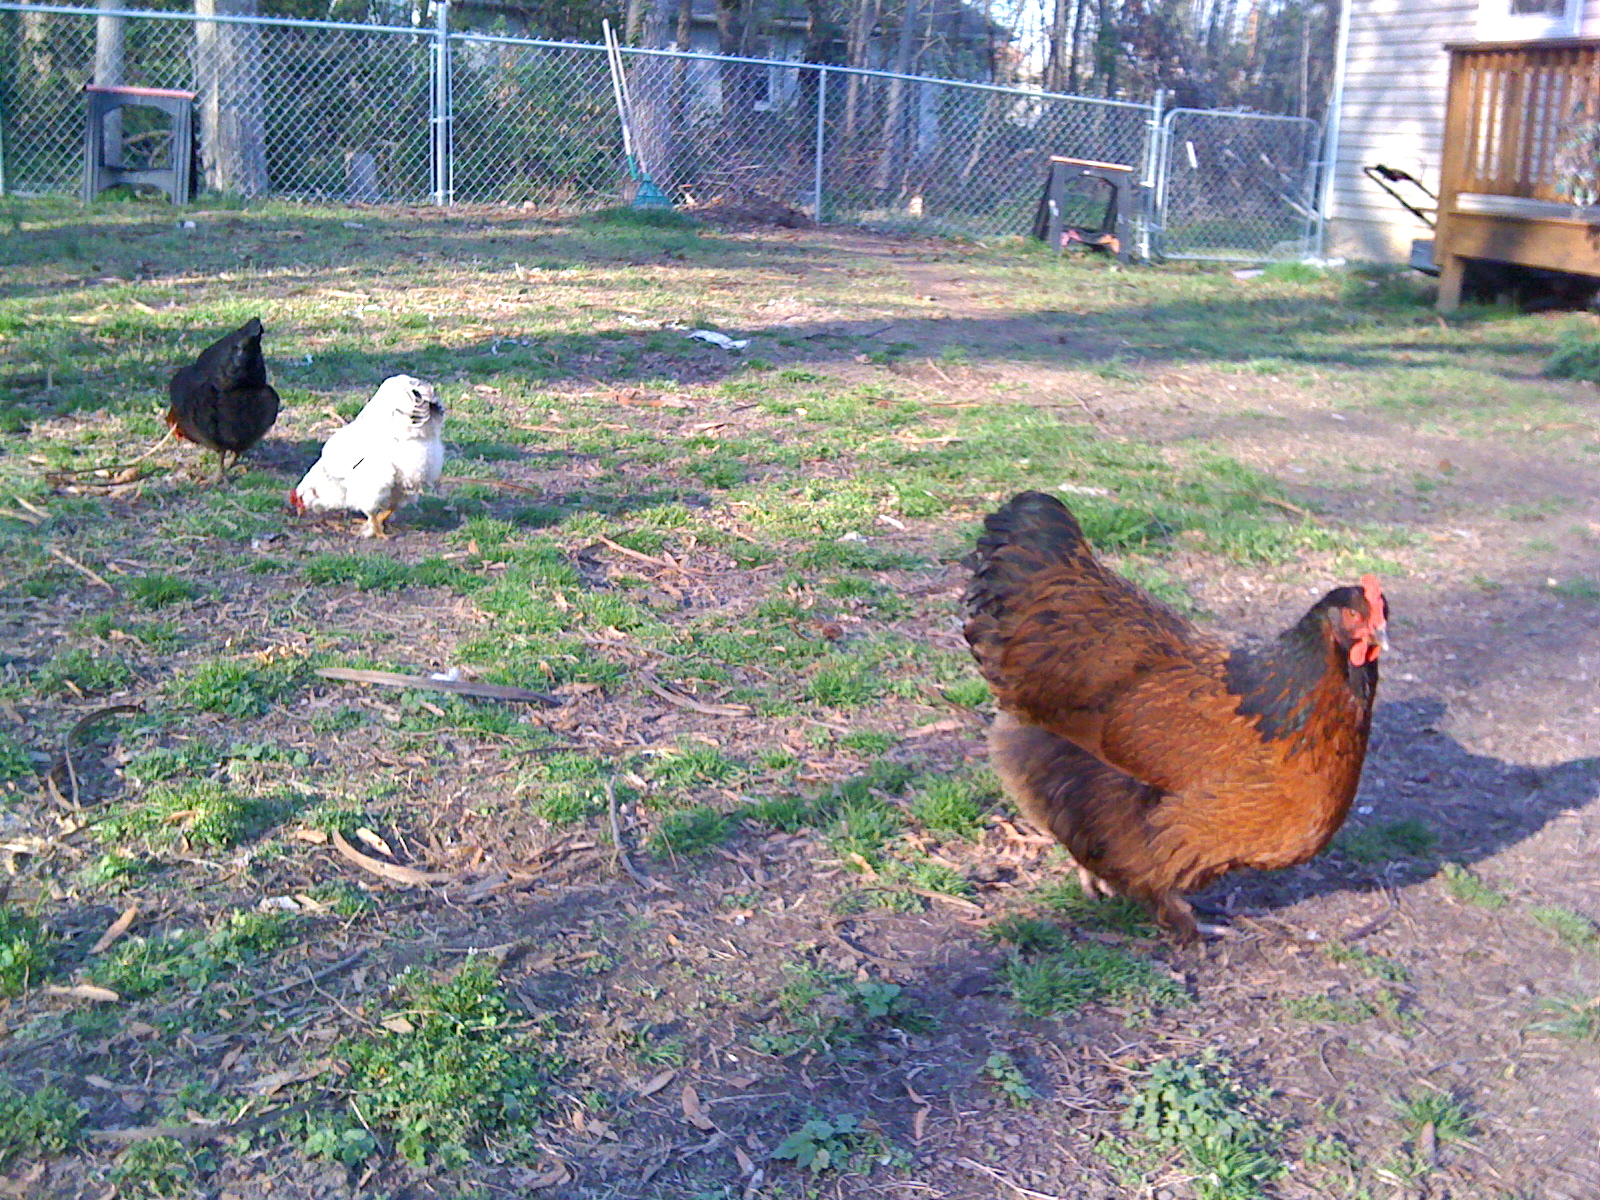
Spring is here, which means eating locally is getting easier by the day. R and I have officially begun to consider ourselves "homesteaders" as we now raise our own chickens for eggs, bake our own bread, make our own yogurt, and grow our own vegetables. To celebrate this, I made a meal with more home-grown/home-made items than not.

One of my favorite bloggers, Smitten Kitchen, posted a recipe a while back for a spinach and cheese strata. When I saw the recipe, I realized that it would use many of the things we grow and make right at our house. This was the perfect recipe to celebrate our new distinction as homesteaders.

So, what was from our house? Eggs, of course. Half a loaf of white sandwich bread, made by Rachel with the assistance of the bread machine. Some cabbage collards, which are collards that grow more like a cabbage. I used some cooked leaves in place of the frozen spinach. And finally, the mixed green salad that I threw together to go with it.

Other substitutions include mozzarella cheese instead of Gruyere, just a personal preference. I will also say that I had about 3/4 cup of cheese leftover at the end because I felt like it was too much cheese--and I am the ultimate cheese lover. So maybe less...

The bottom line? It was a delicious meal, and we felt pretty good about eating it, given the severely reduced food miles. :)

3.14.2011

Square Foot Gardening

I've been debating about how to garden in my new locale for some time (ie: since I moved in last August, in fact). Today R and I decided to embark on what is called Square Foot Gardening. Basically, you divide a raised bed garden plot into 1 sq ft parcels and plant a different veggie in each one.


squarefootgardening.jpg
Mel Bartholomew, Author and Originator of the SFG, from his website


Why a square foot garden (SFG)?

  1. It's temporary. You build a little container, fill it with dirt, grow your veggies, and when you're done you just pull it all out. This is a great option for renters who don't want to (or aren't allowed to) invest the time and money into tilling up a patch of yard for a garden.
  2. It's high yield. You can cram more goodies into a SFG than in a traditionally laid out garden. Efficiency is the name of the game here, and the SFG is a master.
  3. It can be done on a balcony. So long as you get sufficient sun exposure for the type of plant you want to grow, you can build a unit that has a wooden bottom and put it on your porch. This is the ultimate renter's option. Why not just pots? They are small and dehydrate easily. A larger SFG unit will hold water better and be a more efficient use of soil. (No, I don't have a balcony, I'm just saying...)
You can build your own SFG, but I managed to find one on CraigsList for only $50! It's even a 2-tiered one. So, tomorrow I am off to get my 4'x8' SFG, and I can't wait! I'll post photos as I assemble everything, and impart my (limited) veggie gardening knowledge as we go through the season. I've learned most of it through my green thumb of a mother and this book: The Veggie Gardener's Answer Book. It has answered every question I've ever had about vegetable gardening. I can't live without it!

3.13.2011

A Chicken Gallery

I have been so caught up in the excitement of egg-laying that I have neglected to post photos of our lovely layers. We're reliably getting 3 eggs a day, which means nearly 2 dozen eggs per week! We think one little girl is only laying very intermittently, so hopefully we'll be at full production soon. :)

On to the good stuff, a little photo gallery of the chickens!*
Lucille Ball
(AKA Lucy)
Suzy
Amelia Earhart
Napoleon Bonaparte
(AKA Nappy)
Meandering...
What's up? Chicken butt!
Amelia in the afternoon sun
The lovely ladies

*Sorry about the lower quality pics, these were taken with my phone and the light was not great.

3.11.2011

Foster's Market of Durham and Chapel Hill

Spring break has given me an excuse to trawl the internet for fabulous recipes. My most exciting discovery was that Foster's Market (locations in Durham and Chapel Hill) posts recipes online!

Carroty, creamy, and completely delicious!
I made this thrilling discovery while searching for an email address for Foster's. I had a slice of their carrot cake last week, which was delicious, but the cream cheese icing was the best I'd ever had. I kid you not. Best. Icing. Evah.

My plan was to email them and ask for the recipe. You never know when a nice local place like Foster's might just give you a recipe if you ask nicely and promise not to post it online. As luck would have it, Foster's puts lots of their most popular recipes online already, and the carrot cake with the heavenly cream cheese frosting were already there!

Want to make these yourself? Hop on over to the Foster's Market website. The specific recipes from today's post can be found here (carrot cake) and here (cream cheese frosting).

3.02.2011

Sweet Smarts: Duke's Healthy Dessert Contest

Over the past several weeks, I have been baking cupcakes like a crazy person. Why? For the Sweet Smarts Dessert Contest at Duke University.

The goal of this contest was to create a "nutritious, delicious dessert" for Bon Appetit's campus dining facilities. The contest called for desserts that could be presented in single servings that are healthier than traditional desserts. Semi-finalists were chosen in three categories (vegan, fruit, luxury--contains dark chocolate, macadamia nuts, hazelnuts, or mousse) based on the healthfulness of the recipe and the ability of Bon Appetit to acquire the necessary ingredients.

I was lucky enough to get a spot in the semi-finals with my "Delectable Chocolate Raspberry Cupcakes," alongside "Swagger Pie" and "Loaded Cheesecake Brownies." My recipe is below, and other recipes in the competition can be found here.

I've gotten lots of questions about how I go about developing my own recipe, so I'd like to take some time to describe my process.
Testers going to town!
  1. Make a mistake. I was making chocolate cake, and I didn't have enough brown sugar. I decided to use a combination of white sugar and molasses to mimic the flavor and texture of brown sugar. The result was a moist, rich cake with a deep chocolate flavor and a little boost of molasses flavor. I loved the intensity that molasses added to the cake, and decided to run with it.
  2. Have a goal. Per the dessert contest's goals, I wanted to develop a dessert that was healthier than average without sacrificing flavor. The "mistake" molasses cake was a great candidate, because its intense chocolate flavor would be able to hold up to some modifications. In particular, I wanted to use at least some whole wheat flour (for increased fiber), I wanted to cut the butter (for reduced fat), and I wanted to reduce the sugar.
  3. Start testing. I devoted a whole afternoon to testing recipes, and invited a bunch of friends over that night to taste test and give me some feedback. I started making changes to the recipe, like using increasing amounts of whole wheat flour (replacing the all-purpose flour), replacing half the butter with unsweetened applesauce, replacing half the sugar with molasses, and using a combination of egg whites and whole eggs instead of just whole eggs. 
  4. Taste carefully. I tasted each recipe before moving on to the next one, to make more effective substitution decisions. For example, the first recipe was airy, more like a muffin than a cupcake. To increase the density of the cupcake, I upped the whole wheat flour. The resulting cupcake was the dense, rich chocolate that I was looking for.
  5. Ask the audience. I took all of these cupcakes, combined with 2 different fillings and 2 versions of a ganache frosting, and let my friends have at them. Everyone got a plate, an evaluation form, and a glass of milk. At the end, there was a pretty clear winner. While it was the winner that I expected, the feedback was immensely helpful.
Happy taste-testers and an ever-hopeful pup.
So that's my process. Now for the recipe:


Delectable Chocolate Raspberry Cupcakes


An Original Recipe
Makes 26-28 cupcakes

These cupcakes are a rich, grown-up treat, with far more intense flavor than their healthy ingredients betray. The cupcake itself is light and airy, with overtones of dark chocolate, molasses, and coffee. The inside is stuffed with a dollop of gooey, sweet-tart raspberry jam, which serves as a bright contrast to the deep, dark taste of the cupcake itself. The trio of flavors is completed with a decadent dark chocolate frosting containing brewed coffee, honey, and vanilla for depth of flavor.


  • 4 oz. unsweetened chocolate, chopped
  • ¼ cup Dutch-processed cocoa
  • 1 t instant coffee
  • 1 ¼ cups boiling water
  • 1 ½ cups whole wheat flour
  • 1 t baking soda
  • ¼ t salt
  • 8 T unsalted butter (1 stick), softened
  • ¾ cup packed light brown sugar
  • ½ cup unsweetened applesauce
  • ½ cup blackstrap molasses
  • 1 large whole egg
  • 2 egg whites
  • ½ cup plain Greek-style yogurt
  • 1 t vanilla extract
  • ½-3/4 cup raspberry jam (filling)

    Directions:

    1. Heat oven to 350 degrees F. Grease or line 24 muffin cups.
    2. Combine the chocolate, cocoa, and instant coffee in a small bowl. Pour boiling water over chocolate and let sit for 2-3 minutes. Stir until chocolate is fully melted. Set aside.
    3. Sift together flour, baking soda, and salt. Set aside.
    4. Beat the butter on high speed until creamy, about 1 minute. Add brown sugar and beat at high speed until light and fluffy, about 3 minutes. Add applesauce and molasses and beat until combined. Scrape down bowl as needed.
    5. Add eggs and beat well. Add yogurt and vanilla and mix until combined
    6. Add flour mixture and chocolate mixture alternately, ending with flour mixture. Mix until just combine.
    7. Divide the batter evenly among the cupcake tins, about ¼ cup of batter each. Bake 15 minutes, until a toothpick inserted in the center of one of the cupcakes comes out clean. Cool in the pans for 10 minutes, then remove to a cooling rack to cool completely.
    8. For the filling: Poke hole in center of each cupcakes with the handle of a wooden spoon. Fill with about ½ teaspoon of jam. Top with dark chocolate icing (recipe below).
    Dark chocolate icing

    • 4 oz. dark chocolate (such as whole foods 365 brand dark chocolate chips)
    • 2 T unsalted butter
    • 1 T brewed coffee
    • 1 T honey
    • ¼ t vanilla

      Melt chocolate and butter in double boiler until smooth and shiny. Remove from heat and stir in remaining ingredients. Stir until well combined. Let stand 5 minutes before icing cupcakes.